
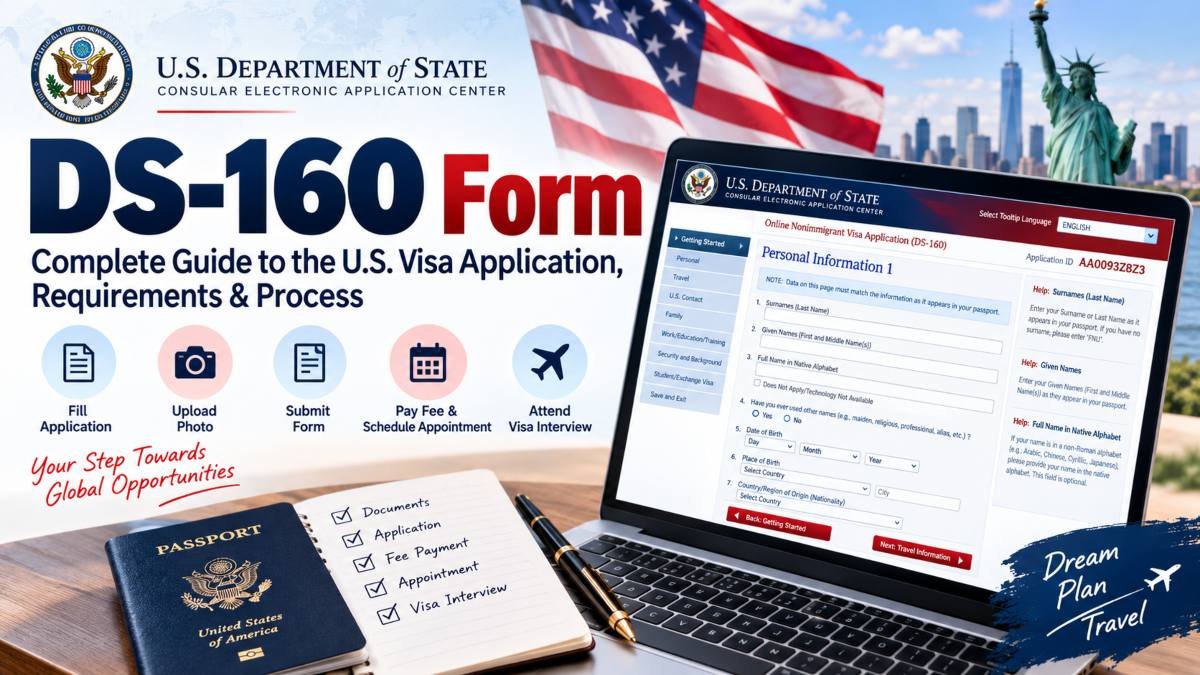
DS-160 Form: If you are planning to apply for a U.S. nonimmigrant visa, one of the first forms you will come across is the DS-160 Form. It is the online application used by most people applying for temporary U.S. visas, including visitor, student, exchange, and many temporary employment visa categories.
The form may look straightforward at first, but it asks for a lot of personal, travel, education, employment, and background information. A small mistake can also create problems later in the visa process.
In this guide, we explain what the DS-160 Form is, who needs it, what information you should keep ready, how the application process works, and what you should do after submitting the form.
Quick Bio: DS-160 Form
| Information | Details |
|---|---|
| Form Name | DS-160, Online Nonimmigrant Visa Application |
| Purpose | Application for U.S. nonimmigrant visas |
| Application Type | Online |
| Submitted To | U.S. Department of State |
| Main Website | Consular Electronic Application Center |
| Language | English, except specific fields such as name in native alphabet |
| Confirmation | DS-160 confirmation page with barcode |
| Next Step | Visa fee and appointment process, according to local instructions |
What Is the DS-160 Form?
The DS-160 Form is an online application for people seeking a U.S. nonimmigrant visa. The information entered in the form is used by consular officers when processing the visa application and, together with the visa interview where required, assessing eligibility.
The form is completed electronically through the U.S. Department of State’s Consular Electronic Application Center.
It is important to understand that submitting the DS-160 does not mean your U.S. visa has been approved. It is one part of the overall visa application process.
Read Also: Margadeepam Scholarship Application Form 2026-27: Download, Eligibility, Documents & How to Apply
Who Needs to Fill Out a DS-160?
The DS-160 is required for applicants for U.S. nonimmigrant visas, including applicants for K visas, subject to the applicable exceptions and visa-specific requirements.
Depending on the purpose of travel, applicants may be applying for categories such as:
- B-1 business visas
- B-2 visitor visas
- F-1 student visas
- J-1 exchange visitor visas
- M-1 vocational student visas
- H-category temporary worker visas
- L-category visas
- O-category visas
- P-category visas
- Other eligible nonimmigrant visa categories
The exact requirements can differ by visa category, so applicants should check the official U.S. Embassy or Consulate instructions relevant to their application.
Information You Need Before Starting the DS-160
It is better to collect your information before opening the application. The U.S. Department of State recommends having several documents and details available while completing the form.
You may need:
- Valid passport
- Travel itinerary, if already arranged
- Details of previous U.S. visits
- International travel history, if requested
- Education history
- Current and previous employment information
- Address and contact details
- Information about your intended U.S. trip
- Details about family members
- Visa or petition information, where applicable
Additional information may be required depending on the visa category.
For example, students and exchange visitors may need their SEVIS ID and I-20 or DS-2019, while petition-based temporary workers may need information from their I-129.
How to Fill Out the DS-160 Form
The DS-160 is completed online. Before submitting it, carefully review every answer.
Most questions are mandatory. If a question does not apply to you, the application may provide an option such as “Does Not Apply.” Optional questions can be left blank where permitted.
1. Start a New Application
Begin the DS-160 application through the official Consular Electronic Application Center.
You will receive an application identification number and will need to select and answer a security question. Keep these details safe because they can be needed to return to your application later.
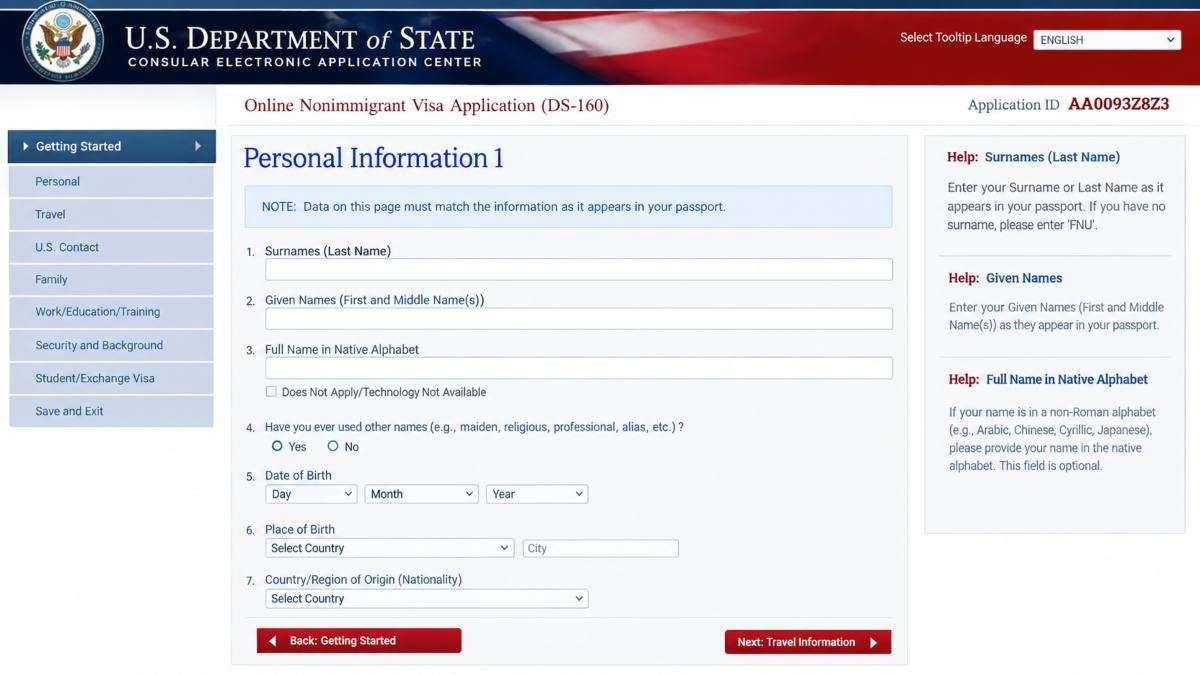
2. Enter Your Personal Information
You will be asked for information such as:
- Full name
- Date of birth
- Place of birth
- Nationality
- Passport information
- Address
- Phone number
- Email address
Your name and other important details should be entered carefully and consistently with your passport and supporting documents.
Read Also: What Is a 1099 Form? Complete Guide to 1099 Tax Forms, Types, and Requirements
3. Add Travel Information
The application asks about your intended travel to the United States.
You may need to provide information about:
- Purpose of your trip
- Intended arrival information
- U.S. address
- Travel companions
- Previous U.S. visits
If you have not finalized every travel arrangement, answer according to the instructions and your actual circumstances rather than guessing.
4. Provide Family Information
The DS-160 may ask for information about your parents, spouse, children, and other relevant family relationships.
Make sure the information is accurate and consistent with your documents.
5. Add Work and Education History
Applicants may need to provide current and previous employment information along with education details.
The State Department advises applicants to have their résumé or CV available because information about education and employment may be requested.
6. Answer Security and Background Questions
The application includes questions concerning various security and background matters.
These questions should be answered truthfully and completely. Do not guess or intentionally provide information that is false or misleading.
The Department of State states that submitting false or misleading information can have serious consequences for a visa application.
Can You Save the DS-160 and Complete It Later?
Yes. You do not necessarily have to finish the entire application in one sitting.
The DS-160 can be saved and retrieved later using your application ID and security information. The Department of State says a partially completed application can generally be returned to within 30 days. For access beyond that period, the application can be saved to a computer as instructed by the State Department.
This is useful because the form can take time to complete, especially if you need to collect travel, employment, or education information.
DS-160 Photo Requirements
The DS-160 provides an option to upload a digital photograph when completing the application.
If the photo upload is unsuccessful, the confirmation page may display an “X” where the photograph would normally appear. In that situation, the State Department says the applicant should follow the specific instructions of the U.S. Embassy or Consulate where they are applying regarding submission of a printed photograph.
Photo requirements should therefore be checked carefully before submission.
What Happens After Submitting the DS-160?
Submitting the DS-160 is not the final step.
After completing the application, you should:
- Submit the DS-160 electronically.
- Print or save the DS-160 confirmation page with the barcode.
- Follow the applicable instructions for paying the visa application fee.
- Schedule the visa appointment according to the instructions for the location where you are applying.
- Prepare for the interview if one is required.
- Take the required documents and DS-160 confirmation page to the appointment.
The U.S. Department of State specifically states that applicants must keep the DS-160 barcode confirmation page and that the embassy or consulate does not schedule the appointment on the applicant’s behalf.
DS-160 Form Fee
The DS-160 itself is an online application form, but completing it is part of a visa application process that generally involves a nonimmigrant visa application processing fee.
According to the current U.S. Department of State fee schedule, the processing fee for many non-petition-based nonimmigrant visa categories, including B visitor, C-1 transit, F student, and M vocational visas, is $185. Certain petition-based categories, including many H-category visas, have a $205 application processing fee. Fees can differ for some categories and may change, so applicants should verify the amount applicable to their visa category.
The visa application processing fee is generally non-refundable.
Documents Required After Completing the DS-160
The exact documents depend on the visa category and your individual circumstances. However, common documents can include:
- Valid passport
- DS-160 confirmation page
- Visa application fee payment receipt, where required
- Photograph, if required
- Visa appointment confirmation
- Supporting documents related to your purpose of travel
- Additional documents required for your specific visa category
For example, students may need documents such as Form I-20, while exchange visitors generally need Form DS-2019. Temporary workers may need petition-related information.
The U.S. Embassy or Consulate where you apply may request additional documents, so applicants should always review the local instructions before their appointment.
Do You Need to Print the Entire DS-160?
No. You generally do not need to print the complete DS-160 application.
After submitting the form, you should print or save the DS-160 confirmation page containing the barcode and application ID. The Department of State states that applicants must bring the confirmation page to the interview and throughout the visa application process.
It is still a good idea to keep a copy of the information you submitted for your own records.
What If You Lose the DS-160 Confirmation Page?
Don’t panic if you lose the confirmation page.
The Department of State says you can retrieve and reprint the confirmation page through the Consular Electronic Application Center. You need your application ID and can use the “Option C-Retrieve Application” function on the application’s starting page.
Keeping a digital copy of the confirmation page in a secure location can save you from this problem later.
Can You Correct a DS-160 After Submission?
This is one of the most important things to understand.
You should carefully review your answers before submitting the DS-160, because corrections after submission may require additional steps.
If an error is discovered, the appropriate procedure can depend on the nature of the mistake and the instructions of the embassy or consulate handling your application. The State Department’s FAQ explains procedures for accessing and correcting certain submitted applications when an embassy or consulate requires the applicant to do so.
If you realize that you made a significant mistake, don’t simply assume that you can ignore it. Contact the relevant U.S. Embassy or Consulate and follow its instructions.
Common DS-160 Mistakes to Avoid
A large part of successfully completing the form is simply taking your time.
1. Entering Incorrect Passport Details
Check your passport number, name, date of birth, nationality, and other identity information carefully.
Even a small typing mistake can create unnecessary problems.
2. Giving Inconsistent Information
Your DS-160 should accurately reflect your circumstances.
For example, information about your employment, education, travel plans, or previous U.S. travel should not intentionally contradict your supporting documents or statements.
3. Guessing Answers
If you don’t understand a question, don’t randomly select an answer just to complete the form.
Review the official instructions or seek appropriate professional guidance when necessary.
4. Waiting Until the Last Minute
The DS-160 asks for considerable personal and background information.
Start gathering your documents and details early instead of trying to complete everything immediately before your appointment.
5. Forgetting the Confirmation Page
After submission, make sure you can access your DS-160 confirmation page and barcode. Without the required confirmation information, your visa case may not be processed as expected.
DS-160 and Visa Interview
Completing the DS-160 does not automatically schedule your interview.
After submitting the form, applicants generally need to follow the visa appointment and fee instructions applicable to their location. The U.S. Embassy or Consulate does not schedule the appointment for you.
During the interview, a consular officer may ask questions related to your application, travel purpose, background, and other relevant circumstances.
Your answers should be truthful and consistent with the information you submitted.
For many visa categories, interviews are generally required, although certain applicants may qualify for limited exceptions.
Where Should You Apply for a U.S. Nonimmigrant Visa?
Current U.S. Department of State guidance says nonimmigrant visa applicants should generally schedule their interview at a U.S. Embassy or Consulate in their country of nationality or residence. There are specific rules for applicants from countries where routine nonimmigrant visa processing is not available.
Therefore, applicants should not automatically choose an embassy in another country simply because appointment availability appears different there.
Always check the latest instructions for the location where you intend to apply.
What If Your DS-160 Photo Upload Fails?
If your photograph successfully appears on the DS-160 confirmation page, the upload was successful.
If the confirmation page shows an “X” where the photo should appear, the State Department says the upload failed. In that situation, you should follow the instructions of the U.S. Embassy or Consulate where you are applying, including bringing a printed photograph when required.
Final DS-160 Checklist
Before moving forward with your visa application, check that you have:
- Completed the DS-160 accurately
- Reviewed your answers before submission
- Submitted the application electronically
- Saved the application ID
- Saved/printed the confirmation page
- Checked the photograph requirement
- Paid the applicable visa processing fee
- Followed the appointment instructions for your location
- Prepared the documents required for your visa category
- Checked the latest U.S. Embassy or Consulate instructions
Final Words
The DS-160 Form is an important part of the U.S. nonimmigrant visa application process, but it is only one step. Completing the form carefully, providing truthful information, saving the confirmation page, and following the instructions for your specific visa category can help you avoid preventable issues.
Because visa procedures and fees can change, don’t rely on an old checklist found online. Before submitting your application or attending an interview, verify the latest information through the U.S. Department of State and the U.S. Embassy or Consulate responsible for your application.
Important Note for Readers
Aykarmitra provides this article for general informational purposes. It is not a substitute for official U.S. government instructions or individualized immigration advice. Applicants should verify current requirements directly with the relevant U.S. government source before taking action.
